How to Make Vape Coils Last Longer: Cleaning and Maintaining Vape Coils Guide
For vape users, maintaining a clean vape is one of the ways you can enjoy it. Vape is an electronic device that loses its optimal performance when it gets dirty.
E-Liquid or its ingredients do not cause its inside to stain. However, residue builds up. Soon, you will not have the same experience as when you had a new vape.
Glycerin, an ingredient of the vape juice, is known for clogging up the coils. This is also the case for e-liquid flavors with dark colors. The vapor you produce lowers, and the flavor tastes blander when the coil gets dirty.
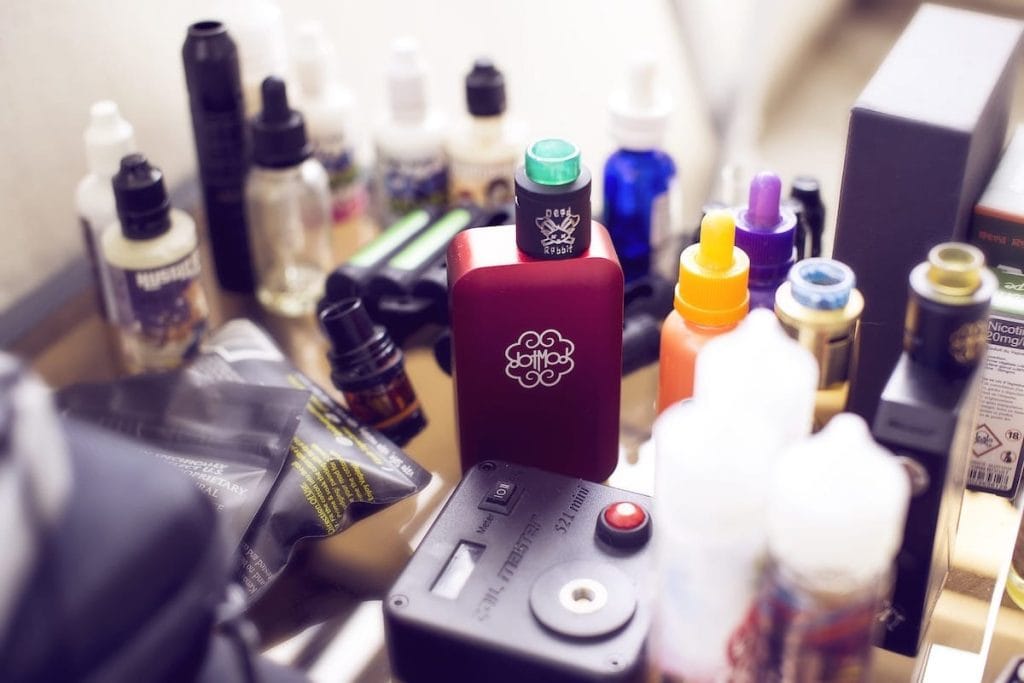
Changing coil heads is not enough to get rid of that burnt taste when using your vaping device. Cleaning vape coils is still the best way to ensure that you get the best out of it.
As a vape user, you should know how to maintain and clean vape coils if you want your vaping device to last longer. First, you need to know the anatomy of a vape device and the benefits of cleaning it.
Benefits of Cleaning your Vape
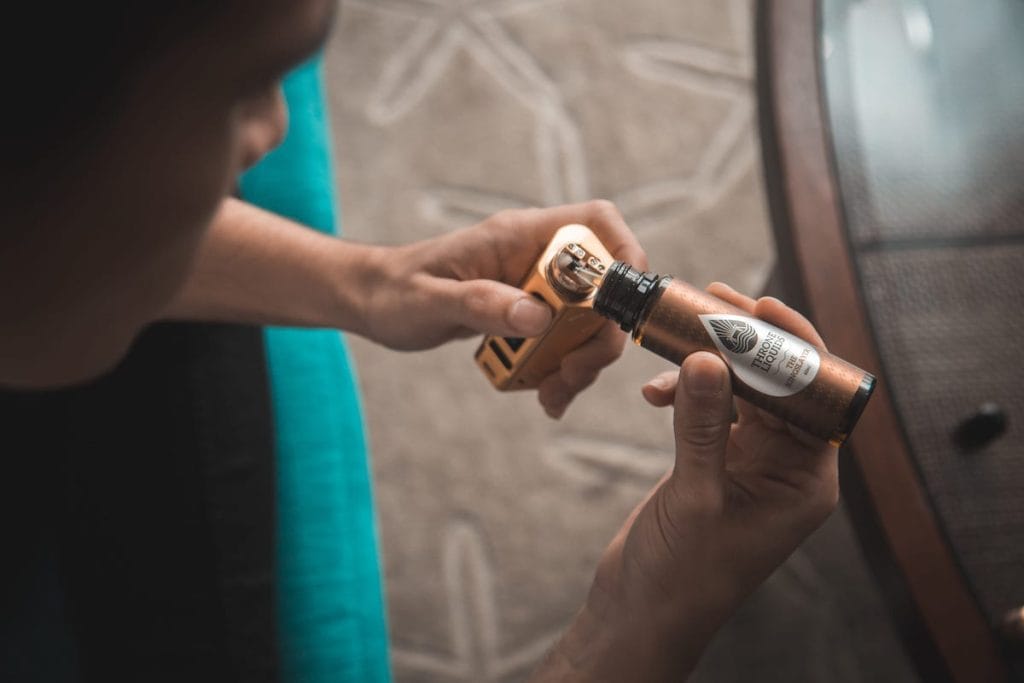
As an e-cigarette user, you should take care of your vaping device and maintain its cleanliness. A new vape coil usually lasts for one to two weeks without cleaning. Since e-liquids leave their residue after vaporization, it can cause buildups on the coil and clog the device. There are a lot of benefits to regularly cleaning your vape device.
1. Vape Coil and Tank Last Longer
Irregular cleaning of your vape’s coil and tank may cause the e-juice residue to clog your device. Make sure to clean them regularly to extend its ability to produce vapors. In order for your vape to last longer, you should also periodically change the wick to make it last up to seven days at max.
2. Peak Performance
Residue from the e liquid after vaporization sticks to the atomizer that destroys the liquid’s taste. It can also clog the vents of the tank, preventing heat from coming out of the device. This could lead to an overheating vape device or no vapor coming out of the device.
3. Flavorful vape liquid
Uncleaned vape coils and tanks ruin the original taste of the e-liquid. A clean device is the foundation of a flavorful e-liquid that you can taste and create refreshing vapor.
How to Make Vape Coils Last Longer? Learn How to Clean Your Tanks & Coils
Before cleaning the vape coil, you should clean your tank first as it contains most of the parts of your device. You also have to memorize where each part belongs after disassembling the device. There are many ways you can clean your vape tank, and we listed some of it below.
1. Normal Rinse
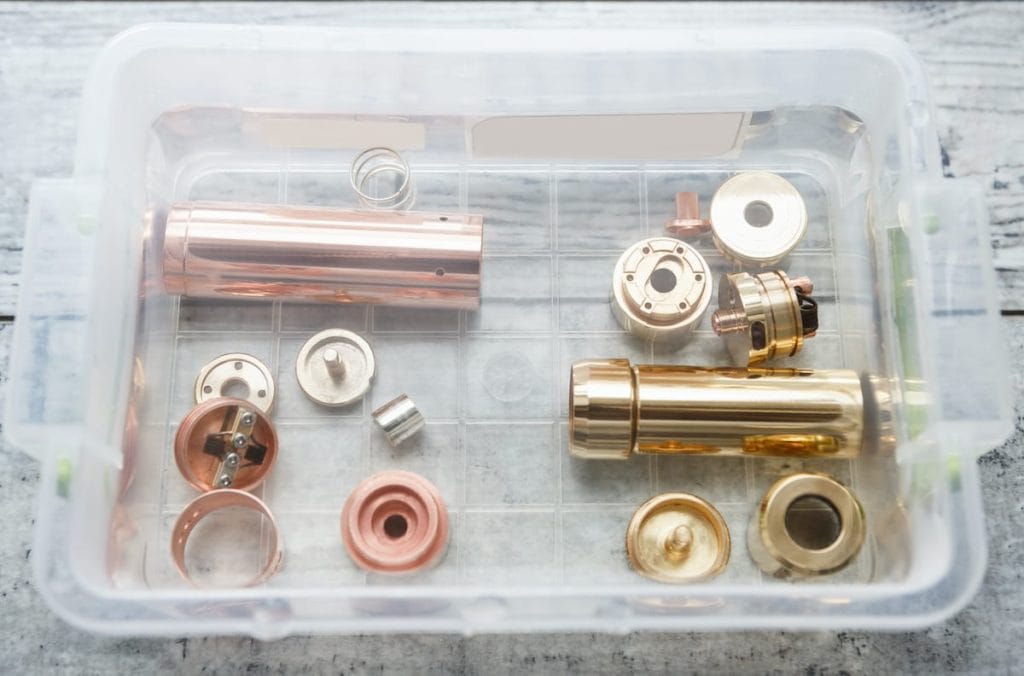
For a standard cleaning routine of your vaping tank, hot water will do the trick. Disassemble its parts and rinse them under running water, and then dry them with a paper towel. Let them dry by exposing them to air or until no droplets are visible.
For a more intense cleaning, place the disassembled parts in a bowl of heated water. Let it stay there for a few minutes until the water cools down. Rinse the tank and its parts again on running water, then dry them with a towel. Avoid too much heat if you want to use a blow dryer for faster drying.
2. Propylene Glycol Rinse
If your goal in cleaning your vaping tank is to remove the taste from the liquid residue, use propylene glycol. You can use the same steps as you did when you used water. Soak the disassembled parts on a bowl of propylene glycol and let it sit for about an hour.
Avoid using vegetable glycerin since it is a very thick liquid making your cleaning more difficult. After soaking it for about an hour in propylene glycol, allow air dry by placing it on a napkin.
3. Cleaners Rinse
Aside from water and propylene glycol, you can also use common cleaning agents that you use in your home. They can be used to put your vaping tank to better cleaning. You just need to ensure that the vaping tank is thoroughly rinsed and dried after soaking it to cleaners.
Vape Coil & Tank Cleaning Agents
Here are some of the cleaning agents that you can use to let your vaping tank in for some deep cleaning. These cleaners do not guarantee you a thoroughly cleaned vape tank, and it still depends on how you clean it.
Baking soda
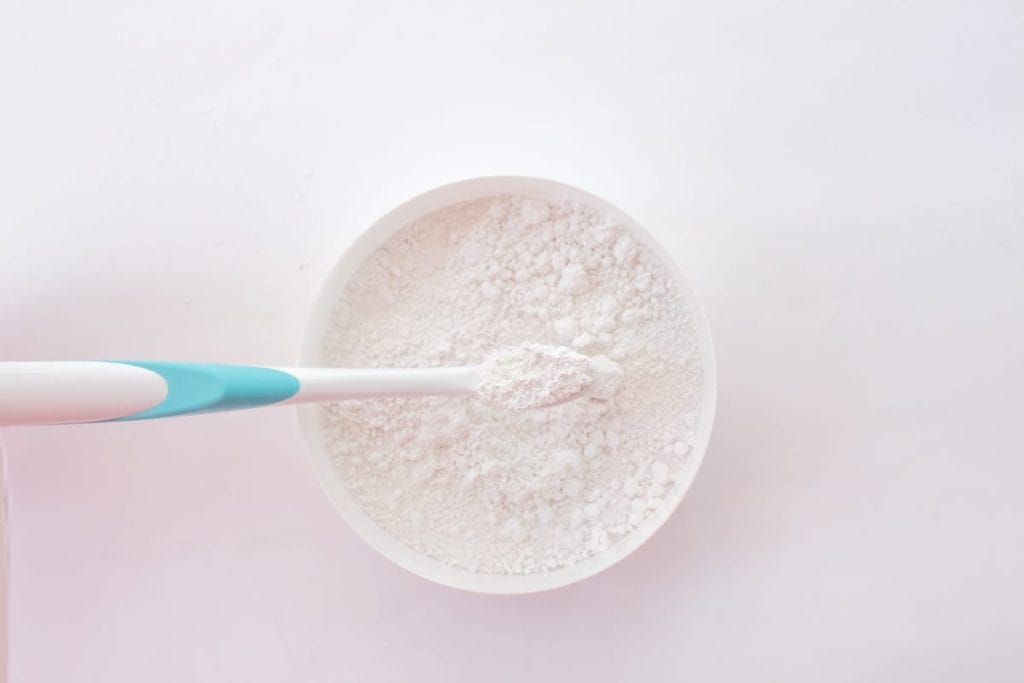
It is a cleaning agent that makes the insides of your vaping tanks to be sparkly.
Vinegar
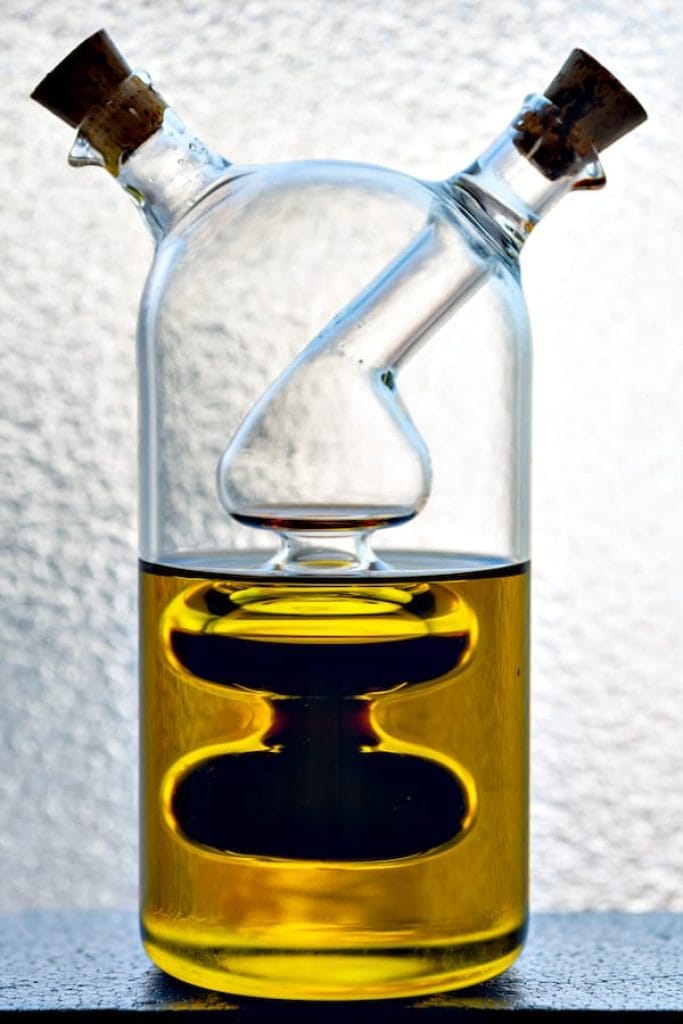
Vinegar thoroughly cleans the insides of your vaping tank. However, you must also do a thorough rinse and dry to prevent any odor from staying.
Grain alcohol

Another effective cleaning agent that can be used for your tank is ethanol. Avoid confusing it with isopropyl alcohol, which puts your tank in a risk.
Ultrasonic cleaner
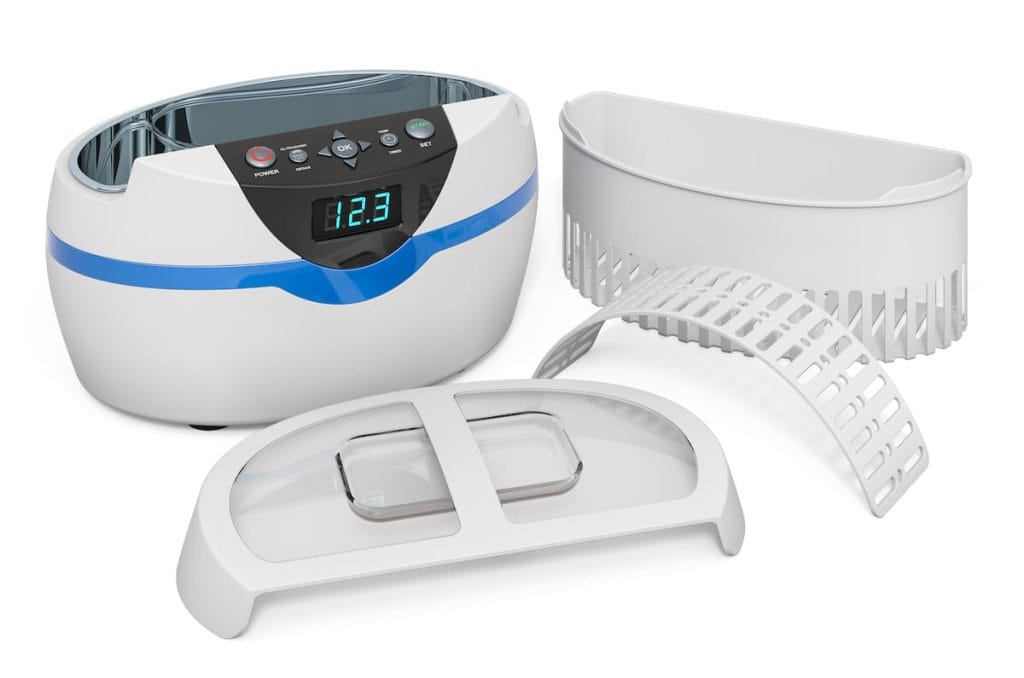
The best possible cleaner for your vaping tank is an ultrasonic cleaner. It is also used to clean the jewelry and other objects made from precious metals. Vape users have followed this trend in cleaning their atomizers. Ultrasonic cleaners that run cleaning cycles for more than ten minutes are fit for vape cleaning.
The cleaning process is straightforward when using an ultrasonic cleaner. Fill the cleaner with water and run it through all the parts of the vaping tank until everything looks clean. You can even add a drop or two of dishwashing liquid for better cleaning. Make sure to rinse it properly since you used dishwashing liquid that may stick to the vape tank’s surface.
Signs that You Need to Change Your Vape Coil
Before learning how to clean a vape coil, you should know how to check if you already need to change your coil. To help you, here are some of the signs to remember when you already need to change the coil.
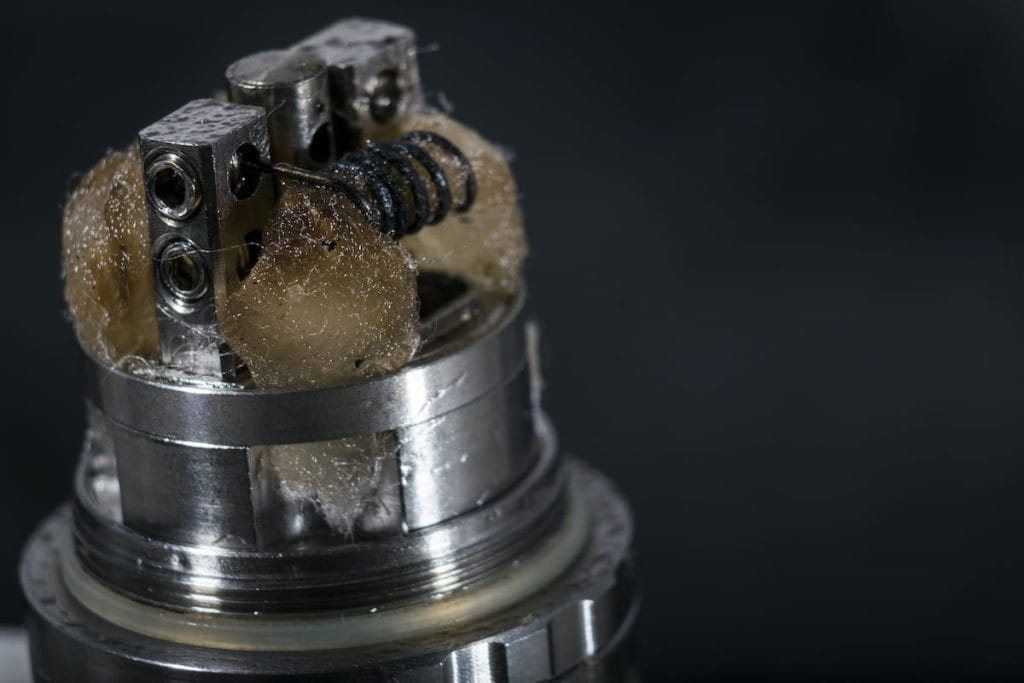
- The vape coil looks burnt, dark, and unable to work
- You feel a “burnt” taste when using it even after cleaning the device
- The amount of vapor produced significantly decreased
- The atomizer in the vaping tank has some leaks
How to Clean Your Vape Coil
There are two main types of coils that you should remember when cleaning them. The replaceable coils that are found in an enclosed chamber that contains the wick. The next type of coil is called “rebuildable” that the user needs to install and wick.
Since they both have a different purpose, you should learn how to clean them separately. Here are the steps that you need to remember for each coil type.
Rebuildable coils
With rebuildable atomizers, you automatically have the duty to clean them regularly. Dirty coils get clogged easily, which affects the taste of the liquid and amount of vapor produced.
There is a simple procedure you could follow if the coil does not require deep cleaning. Light the fire button until all remaining liquid dries up and let it cool down. If, after re-wicking, it did not do the trick, you need to do a deep cleaning procedure.
Follow these steps:
1. Remove the wicks from the coil
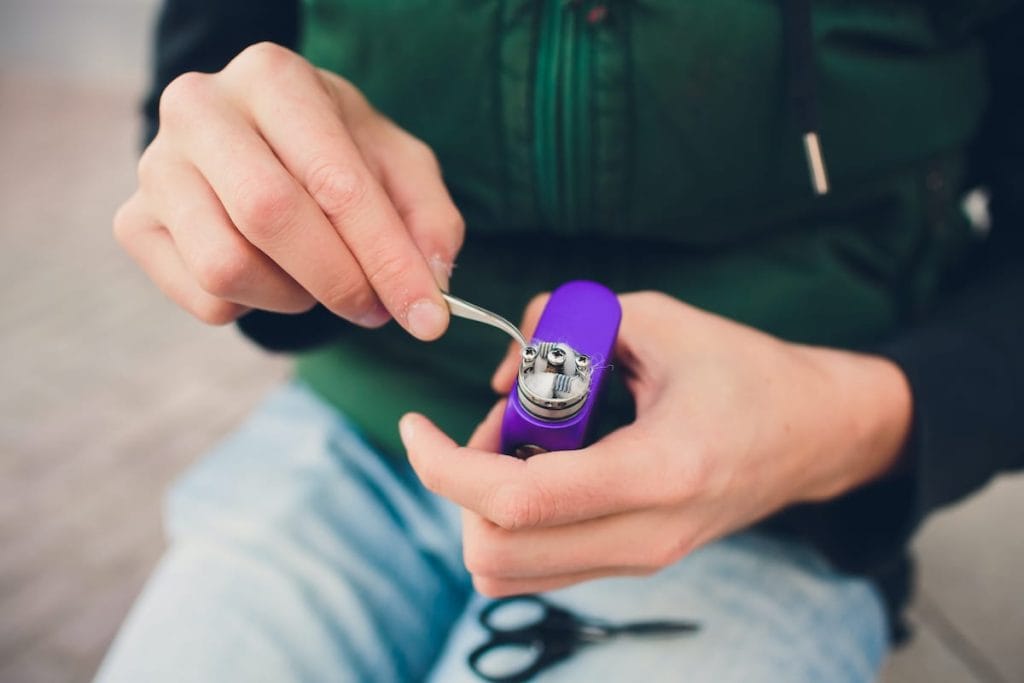
2. Lightly burn the coils
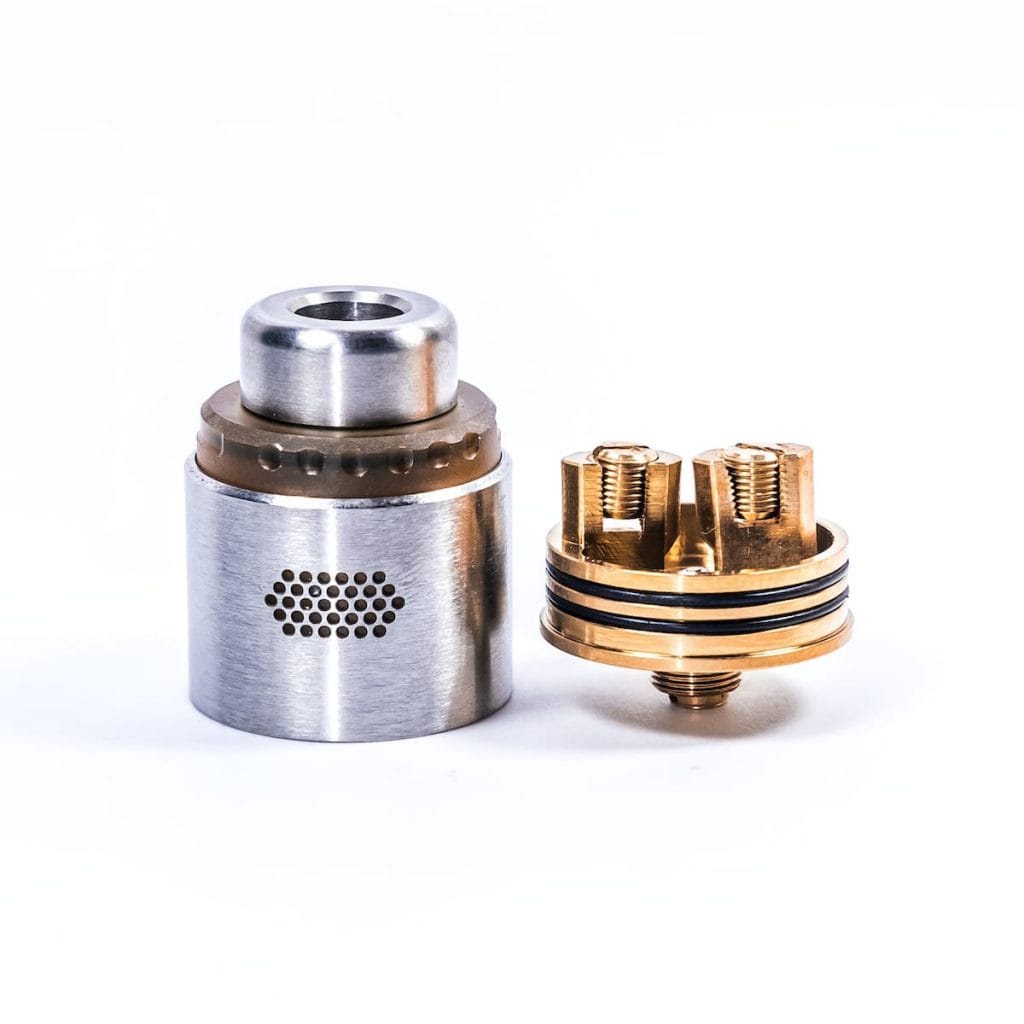
3. Take the atomizer out of the tank
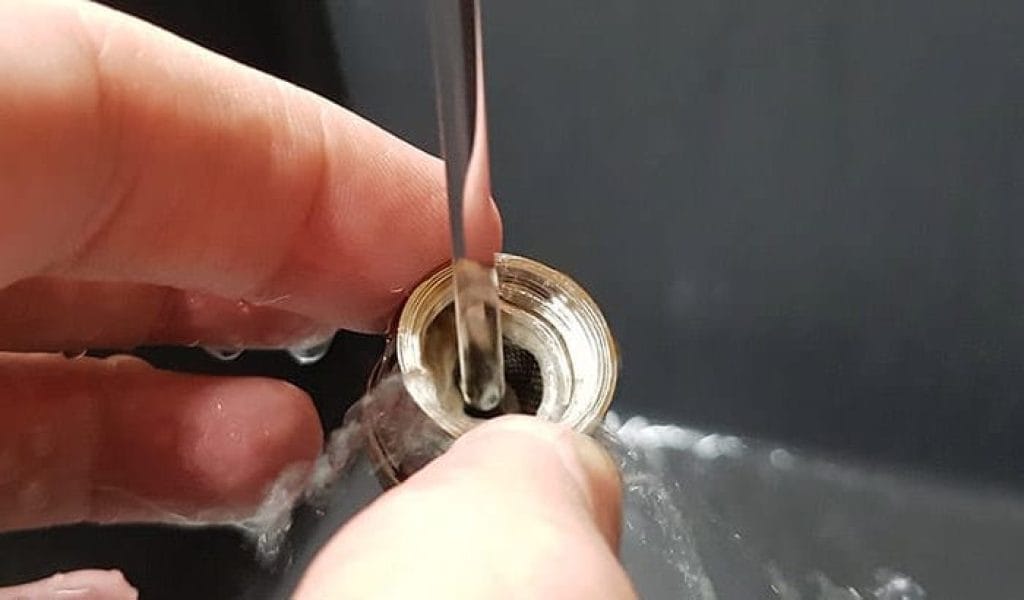
4. Rinse using running water
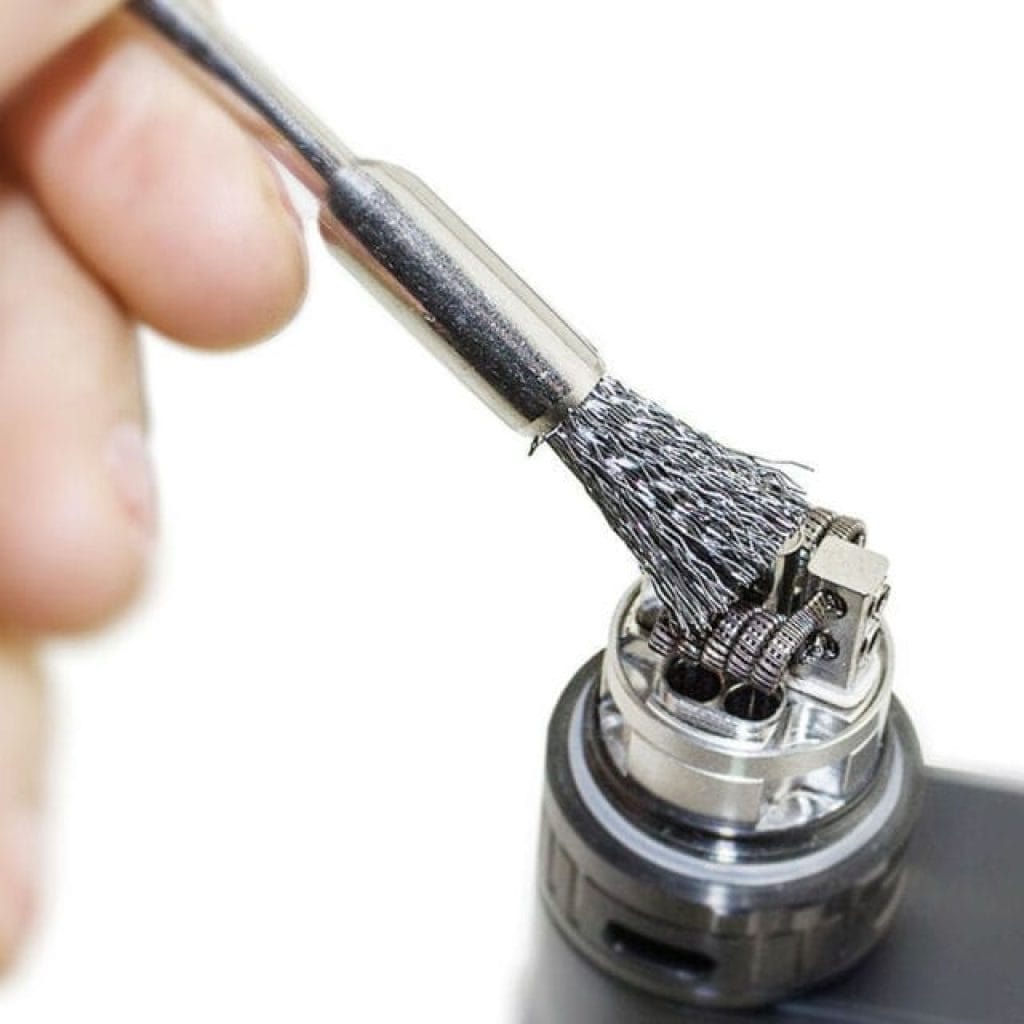
5. Gently brush the coil with a coil cleaning tool
6. Rinse again using running water
7. Get rid of water droplets with a light burning
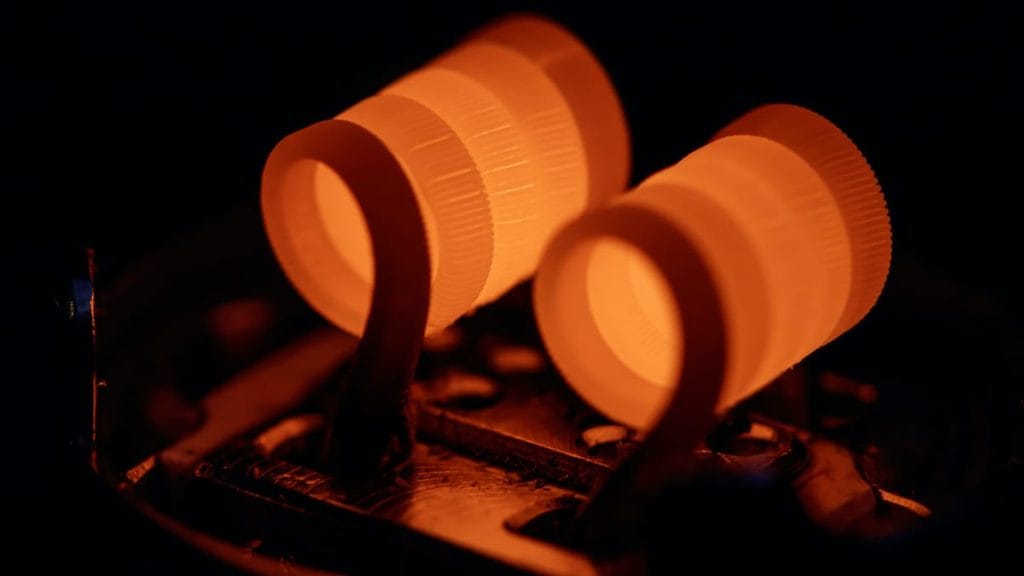
If this procedure does not remove residue buildups, try to rebuild your atomizer. Proper cleaning may not be enough after using your vape coils for a long time.
Replaceable coils
These types of coils have clearomizers and sub-ohm tanks that have pre-built atomizers. Cleaning will not revive these types of coils even after a few cleans. They cannot be used again because of the presence of wicks. Even soaking gunky coils on cleaning agents will remove the residue, but not all of it.
If you still want to try cleaning the replaceable coil heads, you can adapt the standard rinse method. These steps do not guarantee that your replaceable coil head will work again. However, trying won’t give you any problems. Follow these steps and see the results.
- Soak your vape coil in ethanol, vinegar, or other cleaning agents for a couple of hours
- Rinse it with running tap water
- Rinse it again, but with distilled water
- Expose the open side of the coil with air to force the water out
- Let it dry until all droplets have evaporated
You can also dry it under the sun or a blow dryer to speed up the drying process. The wicks of your replaceable coil will look better, but it doesn’t guarantee a working vape coil.
Maintenance Tips
Besides cleaning your vaping device regularly, you should also know what you need to maintain its best state. It is better to prevent any dirt or gunk from building up than going the trouble to clean it. Here are some of the tips that you need to remember as a responsible vape user.
1. Keep E-liquid in a Favorable Environment.
Your e-cigarette juice should not be kept in a place where extreme conditions exist. Excessive heat may cause the liquid to thin out. This can cause future problems like leaks and poor RTA performance.
2. Store your Vaping Device Carefully
Every time you are not using your vaping device or have finished using it, store it somewhere safe. Do this to prevent any accidents or mistakes that might happen with other family members or friends. Buy a storage box or case which only stores the vaping device. You can use this box for travel or when you don’t want to use it.
3. Maintain the Ideal E-liquid Level
Do not allow your vaping device to have an empty tank and run dry for a long time. You also need to prevent any spills from overflowing the RTA with vape juice. Always check the optimum amount of e-liquid that your vaping device can handle. As its user, you must know what the minimum and maximum amount of juice that you can put inside the RTA is. If you are done using your vaping device for that day, it is better to leave it empty and refill it the next time you need to use it.
Conclusion
With this article, we hope that you learned the different parts of a vaping device, and how to clean them. We enjoyed sharing information on the benefits of cleaning your vape and how to know when to clean them.
As a responsible vape user, you should be able to learn these tips and tricks as soon as you started vaping. These will keep your vaping device at its best, and as its user, you will have the best experience.
As fellow vape users, we have come up with this article to share with other vape users. This is an all-around guide in maintaining and cleaning your vape tanks regularly.
Did you enjoy reading this article? Share some of your thoughts on the comments below! Share this information with your friends who also love to vape!
Samuel Roberts
Sam is a vaping enthusiast and professional writer from London, UK. After smoking for 15 years he took up vaping in 2015 and hasn't looked back once. There is a lot of disinformation around e-cigarettes these days, and Sam is dedicated to debunking the many myths and falsehoods about vaping that populate the internet. When not geeking out on the latest vape tech, Sam can normally be found cooking, camping or on the BJJ mats.


